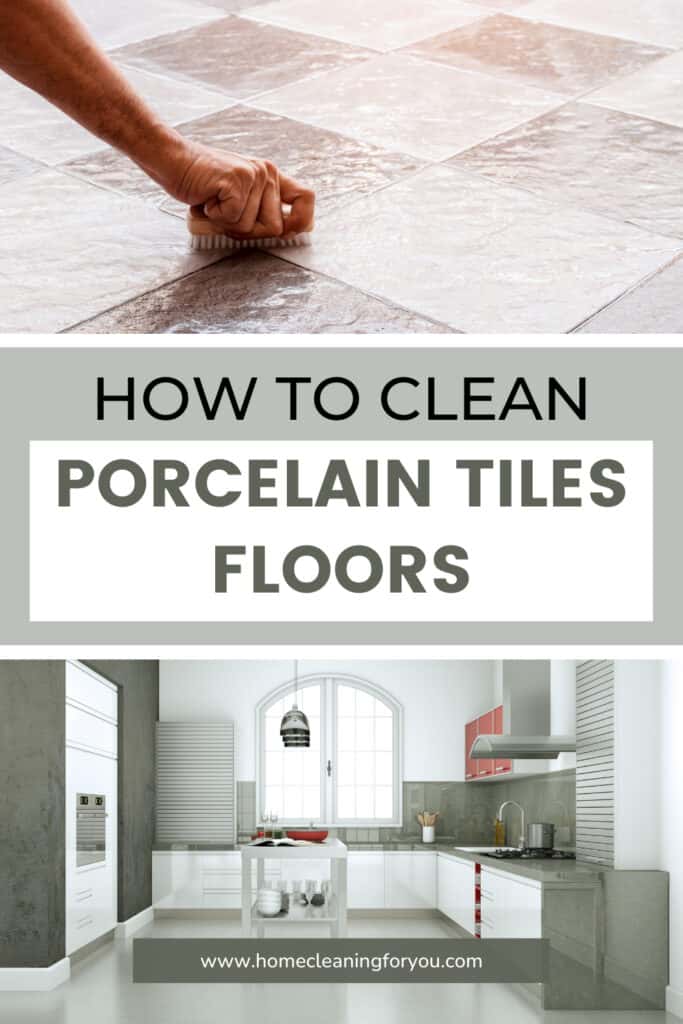
How To Clean Porcelain Tiles Floors – Easy Tips & Tricks
Given how porcelain tiles can bring a chic flair into any room of your house, this flooring option is gaining popularity among homeowners. However, it is their superior durability and alluring aesthetic appeals that often make your home unforgettable.

In general, it’s safe to say that porcelain tiles are low-maintenance, which means you can live more and worry less about the floor’s glorious shine through decades of use. However, there’re still a few particular things that you need to pay attention to in this floor’s cleaning regimen.
From a comprehensive cleaning routine guide to helpful tips and tricks that you can confidently apply to treat stains in daily accidents, here’s a wrap-up on everything you need to know about cleaning porcelain tiles floors!
What Are Porcelain Tiles Floors?
Simply put, porcelain tile is one category of ceramic tiles. However, due to the manufacturing process, this flooring option is highly distinguished from traditional ceramic tiles for its significant set of benefits.
Porcelain tiles are produced from dense clay and other natural materials fused and fired at extremely high temperatures in a furnace. This heating solution allows porcelain tiles with superior durability, high uniform, and strong impact resistance.
With long-lasting lifespans of over 50 years and minor damages, it’s safe to say that porcelain is the king of the kingdom of flooring materials. As a result, it’s becoming more common in both domestic households and business applications.
Porcelain Floorings – Pros & Cons
Compared to ceramic tiles, porcelain floors tend to be on the pricier side. To figure out the reason behind this, familiarize yourself with some noticeable merits and drawbacks of this flooring option.
What To Love?
First and foremost, here’s why porcelain is a smart flooring choice for modern homeowners.
Low Maintenance
Thanks to their premium stain repellant and low water absorbance rate, porcelain floors can look good for years without intensive care and maintenance.
Any water spill, stain, or mark can be wiped off its surface easily to restore its former shine and prevent possible damages, thusly provides a better alternative to some other options like hardwood and stone.
Flexible Styles
Porcelain tiles come in various style variations that mimic the look of wood, marble, granite, and others. With a vast range of patterns, finishes, and colors, it should be no problem getting an appearance that matches the decorative style of your home.
Besides indoor applications, this material also offers a distinct earth tone, making it a perfect choice for exterior styling designs like pavers and patios. The chill of a premium floor will make every steaming hot day feel extra comfortable and refreshing.
Extreme Durability
Since porcelain tiles are heated to extreme temperatures during their making processes, they end up denser and less porous than ceramic. This allows porcelain to hold up well to every day wear and tear, especially when installed in high-traffic areas and commercial environments.
Under a proper maintenance routine, your porcelain floor can have an impressive lifespan of 50 years or more. Plus, these natural tiles are chip and scratch-resistant, so you can rest assured of a classy flooring surface like day one.
Moisture Resistance
With natural resistance to water penetration, porcelain is a great material to opt for in areas with a high level of moisture. Therefore, whether for wet rooms, pool coping, or pavers, this flooring surface isn’t susceptible to cracking in virtually all weather conditions.
Porcelain Tiles’ Drawbacks
As with all things, porcelain floorings also feature some demerits that we need to look into, so you can figure if this is the best fit for your dwellings.
Difficult Installation
Since these tiles boast pretty solid profiles, they end up more difficult to cut and install. Normally, this installation process is rather time-consuming and labor-intensive. Thusly, you’d be better off hiring a professional to get this job done without any problem.
Relatively Expensive
On average, porcelain tiles’ prices range from $1 to $20 per square foot. What’s more, these floorings are also costly to have professionally installed, whose prices can go up to $5 per square foot. This upfront cost is relatively higher compared to those of softer tiles.
Heavy Weight
It’s safe to say that all hard tile floorings are heavy, and this clay-based solution is no exception.
Porcelain tiles’ density and strength turn out to be a disadvantage, which may make them unsuitable for certain walls and upper story applications.
Hard to Repair
Despite this flooring’s superior durability, there’ll come a time when you have to fix a broken or cracked tile. Since this surface is difficult to prepare and work with, it’ll likely cost more to have an expert swap out the tile for you.
How To Clean Porcelain Tiles Floors Without Streaks
Cleaning porcelain tiles requires some easy-to-find tools and straightforward steps. However, there’re certain things you need to know to ensure that your floor’s dazzling shine every day without damaging its finish.
What You Need:
- Vacuum cleaner or dust mop
- Microfiber mop
- Clean towel (or microfiber cloths)
- Bucket
- Mild detergent
- Clean water
Once you’ve had the tools and equipment as above, follow this stepwise guide carefully and make sure you use each product in the correct way.
Step 1: Sweep/ Vacuum The Floor
Oftentimes the first step in most extensive cleaning processes, sweeping or vacuuming the floors helps remove dry dust and debris at surface level. With a tile floor, a soft-bristled broom is a traditional method of wiping away accumulated dirt from daily traffic and activities.
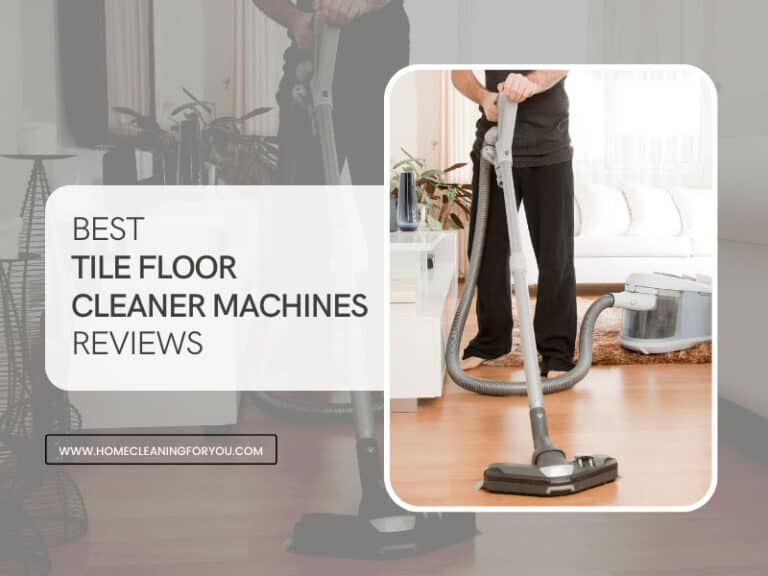
However, for maximum efficiency, you should opt for a vacuum cleaner designed to keep tiles floors clean and polished. This equipment has a strong suction ability that helps you get rid of any dirt and debris without leaving unwanted streaks afterward.
If this gadget isn’t at your disposal, other vacuums that don’t incorporate a brush roll, including easy-to-use household vacuums and commercial vacuums for various surfaces, will do well in sucking up dirt in cracks and crevices with minimal damages.
Step 2: Mix A Cleaner
If you’re all about natural and effective home cleaning recipes, you can put a quarter cup of vinegar into 2 gallons of water into a bucket. For homeowners who want to customize this vinegar solution, it’s acceptable to add a few drops of essential oils.
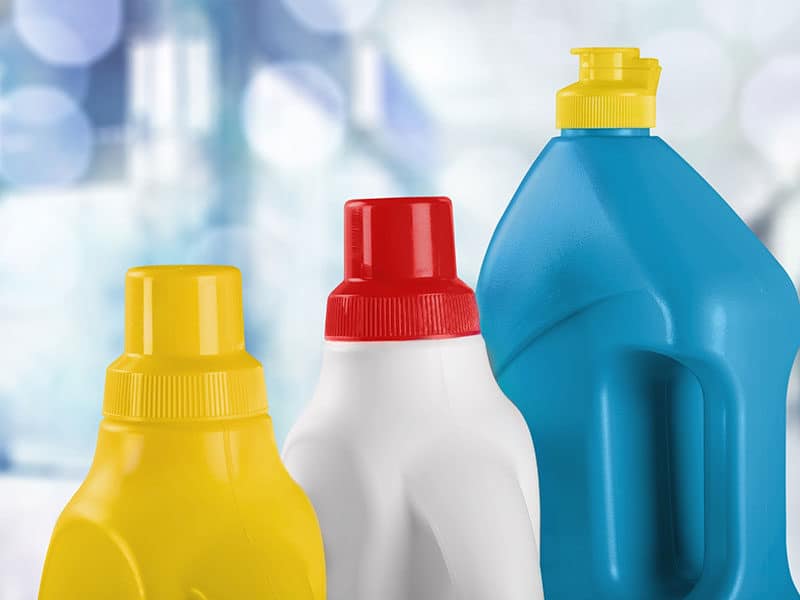
Plenty of cleaning agents designed for porcelain tiles are available in many grocery stores. If you use these cleaners, make sure to strictly follow the directions for use and avoid that the mixture isn’t over-concentrated.
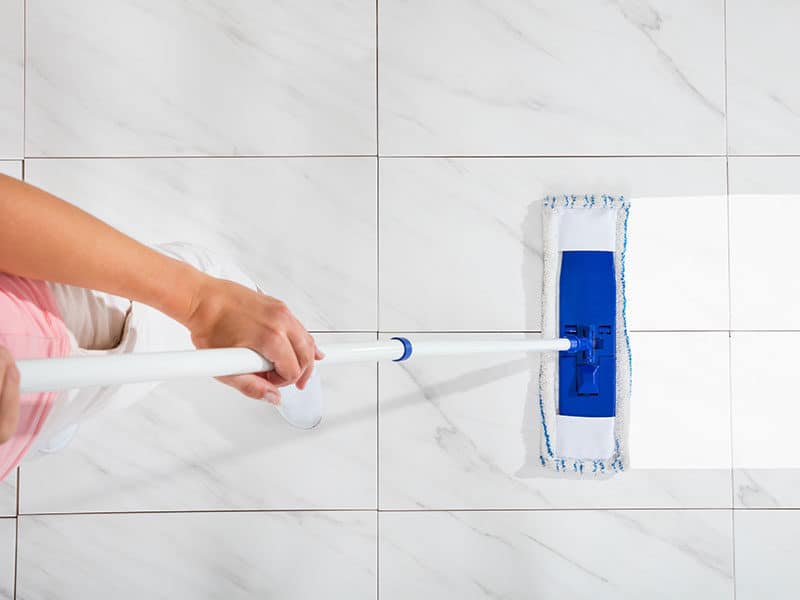
Step 3: Apply The Cleaning Solution
Next, take out the mop that you feel comfortable working with, soak it into the bucket, and wring out all excess water until the mop’s pad is left damp instead of soaking wet. Usually, a microfiber mop with a gentle pad is the best tool to ensure safe and effective results.
To mop the floor correctly, you should work from one end of the room to another to prevent tracking and make sure that all parts of the floor are thoroughly covered.
If you plan to wield a sponge mop that easily deals with difficult corners, make sure to work in straight lines. For any sticky spot that may appear, apply more pressure to rub back and forth until the grime is entirely removed.
Step 4: Rinse The Floor
Once every inch of the floor is properly covered, you should do a final rinse on the whole rinse with another mop and a new bucket of clean water. It’s important that you immerse the mop and wring out as much dirty water from the previous session as possible.
In this step, you’ll find that a spin mop is a best-suited candidate for the job. Its hands-free wringing design allows for faster and less tiresome results, especially when you need to cover a large cleaning area.
Step 5: Dry The Floor
Instead of letting standing water sit on the floor, the best way to reduce the chances of streaks is by gently dragging a dry towel or cloth across the floor to eliminate any residue that remained. Then, let it dry thoroughly before starting to walk on the area again.
Moreover, to prevent the formation of bacteria and dirt buildup, it’s best to wash your cleaning utensils in soapy water and squeeze out every last drop of water after use. Not only does this ensure a germ-free household, but it also allows for easier work next time.
How To Clean Different Kinds Of Porcelain Tiles?
While most porcelain tiles bear the same characteristics of hardness, density, and durability, it’s safe to say that not all of them are created equal. Depending on their finish types, these tiles can be divided into three main categories: polished, unpolished, and textured.
With dissimilarities in surface type, these porcelain floorings require different installations and care practices that we will gradually discover to add years to your floors.
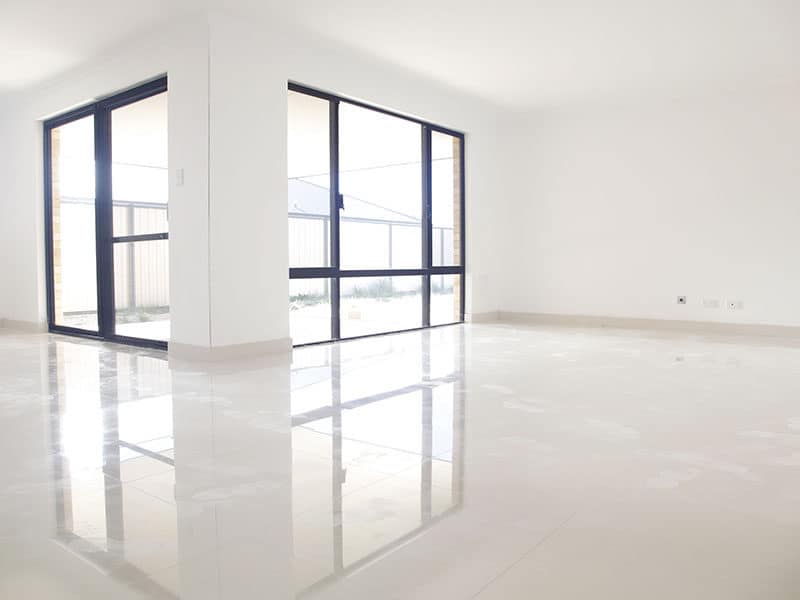
Polished Porcelain Tiles
Polished/glazed porcelain tiles make a wonderful addition to your home décor by adding a luxurious look and comfort.
What’s more, these flooring surfaces are quite impervious to water and stains, allowing them to shine with little care in daily cleaning rituals.
- Step 1: Use a soft-bristled broom, a microfiber dust mop, or a lightweight vacuum to quickly get rid of dirt and light debris.
- Step 2: Mix a natural or a mild chemical cleaning solution following the product’s instructions.
- Step 3: Dampen your mop and start working backward from the corner furthest away to the door.
- Step 4: Rinse the floor with clean water and gently drag a towel across it to dry quickly.
Unpolished Porcelain Tiles
Since unpolished/unglazed porcelain floorings don’t have the same surface protection as their polished competitors, these tiles call for extra delicacy in the cleaning regimen.
Besides sealing and immediate stain treatments, it’s noteworthy that you don’t use any abrasive tool or cleanser to clean them on a daily basis.
- Step 1: Pick up loose grimes with a tile-specific vacuum cleaner or a broom.
- Step 2: Go over the area in small sections with a cleaning solution of warm water and a mild cleaner or a few drops of vinegar.
- Step 3: Allow the cleaning solution to sit for 5-10 minutes without letting it dry.
- Step 4: Wipe the floor thoroughly to remove the debris and cleaner residues.
- Step 5: Give the surface the last round of rinsing with clean water or by wielding a wet-dry shop vacuum.
- Step 6: Allow it to air dry or quickly wipe dry with a clean cloth or paper towel.
Textured Porcelain Tiles
Textured porcelain tiles’ unique quality lies in their tactile wood-like finishes and the innovative look that tends to add an eye-catching rustic dimension to any room.
Since this flooring has a certain roughness and traction, it calls for a more frequent and careful cleaning procedure to preserve its beauty in the long run.
- Step 1: Take a soft-bristled flared broom to sweep the floor along the tile’s direction and diagonally to get rid of dirt in cracks and crevices.
- Step 2: Prepare a diluted cleaning remedy with a mild detergent or vinegar in lukewarm water.
- Step 3: Saturate the entire floor with the solution using a gentle microfiber mop and let it stand for 5-10 minutes.
- Step 4: Remove stains and dark spots using a soft brush or broom in a back-and-forth motion.
- Step 5: Rinse the floor clean to prevent potential damages caused by remained cleaners.
- Step 6: Dry it with a microfiber cloth or towel.
What’s The Best Way To Get Stains Off Porcelain Tiles?
Though this stone tends to call for little upkeep, in the long run, you may come across stubborn stains from time to time. To restore a shiny finish on your floor, here is a compilation of the most common stains on porcelain tiles and the easiest ways to treat them.
Grease and Fat-Based Stains: To get rid of a fatty stain from your porcelain floor, mix a few drops of a non-abrasive household cleaning agent or a solution based on trisodium phosphate in hot water. Then, take a stiff-bristled brush and scrub on the spot until the stain disappears.
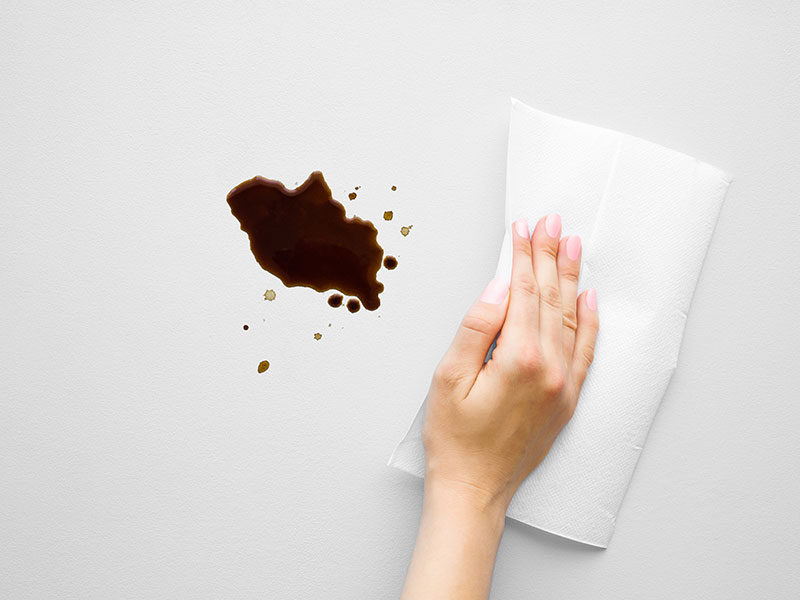
Coffee/ Tea/ Juice: To cut these stains, you can dip a clean paper towel or cloth in a mixture of water and baking soda and apply it to the blot.
For stuck-on stains that have been there for a while, you can then prepare a bucket of 3 tablespoons of laundry bleach and 1 quart of warm water. Saturate the stained area with this solution after rinsing away the previous mixture.
Mildew: Put together 1-quart water, 1/2 cup bleach, and some tile-specific detergent according to the manufacturer’s directions in a bucket. If this specialized detergent isn’t on hand, you can use another ammonia and acid-free cleaning agent without trouble.
Next, allow the mixture roughly 2 minutes of dwelling time before scrubbing the affected area off using a soft-bristled brush. Repeat the process until you don’t see the stain anymore.
Scuff Marks: Scuff markings caused by the shoe’s rubber soles and furnishing legs can be eliminated by mopping the floor with a diluted cleaning solution of a neutral floor cleaner or dish soap. Make sure to use some elbow grease as you move the cloth back and forth.
Paint Stains: For porcelain floors with a hard glaze, a commercial paint remover is the best bet to help cut the old paint. Following the product’s directions, you should rub the paint remover on any conspicuous spot on the floor with a damp cloth to restore its former shine.
On the other hand, floorings with a soft glazed surface will do better with a homemade cleaning remedy. In this case, add equal parts of white vinegar and warm water. Then, apply this to the treated area and scrub the paint off before rinsing it away with some clean water.
Hard Water Stains: To remove hard water deposits, saturate a mop with some distilled white vinegar and let it sit on the stain to soften the minerals contained in a water scum.
Then, sprinkle some baking soda onto the surface before lightly scrubbing with a sponge mop in circular motions. Rinse it thoroughly and repeat this process until the stains are no longer present.
How To Clean And Disinfect Porcelain Tiles Floors
Unlike casual clean-ups, floor disinfection is a process that requires more attention and serious chemical substances. Performing this routine every once in a while on such a high–tough surface plays a key role in preventing the transmission of serious diseases in your home.
Therefore, if you’re concerned that your porcelain tiles seem to be covered in mold, mildew, and unsightly bacteria, follow these steps to sanitize the floors.
What you need:
- ½ cup of white vinegar
- ¼ cup of borax
- ½ cup of ammonia
- Water
- Spray bottle
- Sponge mop
Step 1: Prepare The Disinfecting Mix
Firstly, put the three ingredients mentioned above into a spray bottle and shake until all the ingredients are entirely combined. Or else, pour them into a plastic container and stir well.
As an all-rounder cleaner, vinegar is renowned for its ability to kill certain types of germs due to its high acidity. When mixed with ammonia and borax, this blend also acts as a disinfectant, a shine restorer to dull floors, and a remover for mold and mildew to keep your home hygienic.
Step 2: Disinfect The Floor
With the disinfectant ready in hand, you can choose to spray the solution onto the treated surface and gently scrub it with a sponge mop.
Otherwise, if you don’t feel the need to get down on all fours, dip a clean mop that works best with tile floors into the cleaner’s container, wring out the excess, and spread it on the floors that need disinfecting.
Either one of the two, make sure that you carefully cover the entire area and leave the surface visibly wet for approximately 10-15 minutes while the disinfectant does its job.
Step 3: Rinse With Clean Water
Lastly, take a cool water bucket and a clean microfiber mop to give the treated surface a comprehensive rinse. After that, there’s no further action to take since you can let the floor air dry naturally.
Once it’s all clean and dry, you can be sure to step on a floor that’s entirely free of contaminants and bacteria.
How To Clean Porcelain Tiles After Installation?
If you plan to add some value to your home’s aesthetic appeal by installing a brand new porcelain flooring surface, there’s certain work to keep up with to have it dazzling clean for the first time.
Step 1: Allow The Grouts To Fully Dry
Before applying any cleaning practice, it’s crucial that you give the cement grout an appropriate amount of time to fully dry and harden.
Necessarily, refer to the grout’s manufacturer’s directions to have a clear idea of the recommended drying time. This phase usually ranges from 3-4 days to no more than 10 days at much.
Step 2: Sweep Off Surface Dirt
After an installation or renovation, the entire flooring surface should be swept with a big and soft mop to remove surface dirt and debris from walls to walls. Then, vacuum the unsightly grimes in all cracks and crevices to prevent them from getting in your way in further steps.
If you’re new to the convenient benefits of vacuuming instead of sweeping like the old days, you should get to know the fundamentals of using a vacuum cleaner to make your chores easier.
Step 3: Prepare The Cleaning Solution
To perform a post-installation routine effectively, you should prepare a professional cleaner with acid-degreasing and cleaning functions specialized for construction sites.
However, to preserve the grout and tiles’ state in this early stage, it’s noteworthy to avoid cleaners containing muriatic acids since these substances’ corrosive and intensive properties can damage your newly renovated floors.
Step 4: Apply The Product
With the right cleaner in hand, abundantly wet the floor’s surface with this cleaning agent. Then, let it sit on the ground for roughly 10-15 minutes, making sure it doesn’t completely dry out. Also, for maximum efficiency, you should work one meter at a time.
Step 5: Eliminate Stubborn Residues
In this phase, it tends to take some elbow grease to scrub off the stuck-on residues on the floors, including mortar, glue, and grout haze with a soft-bristled brush or a nylon scrubbing pad.
Also, you should work your way carefully across each tile since residual dirt left untreated for a long period will be harder to clean in the future. Exert a few more efforts until all the dirt and patina are completely removed from the surface.
Step 6: Rinse The Floor
Once it’s done, push a dry towel or a microfiber mop along the floor to collect all the dirt and residues. Then, rinse your floor thoroughly with clean water to eliminate any cleaning products and standing water that remained before letting it air-dry.
How Do I Clean And Brighten Porcelain Tile Floor’s Grouts?
Based on grout lines’ construction of sand and cement, these parts require extra specialized and careful maintenance. Not only provides more aesthetic qualities, bright and clean grouts also help extend porcelain tiles’ lifespans by allowing them spaces to flex between seasons.
Therefore, learning the basics of unsealed grout care is crucial for any homeowner with stunning porcelain floorings. From classic manual methods to the convenience of commercial product usages, you can keep your grouts looking like new with just a bit of attention and effort.
Method #1: Baking Soda
The simplest homemade remedy to fixing dirty and discolored grout lines is a paste of baking soda and water. Apply this mixture to the grouts, wait for roughly 10 minutes and scrub off any dirt and debris. Finally, wipe the whole area clean with a damp towel or cloth.
Thanks to its mildly abrasive properties, baking soda is extremely effective in removing embedded dirt buildup in grout lines without causing any significant damages to the nearby tiles.
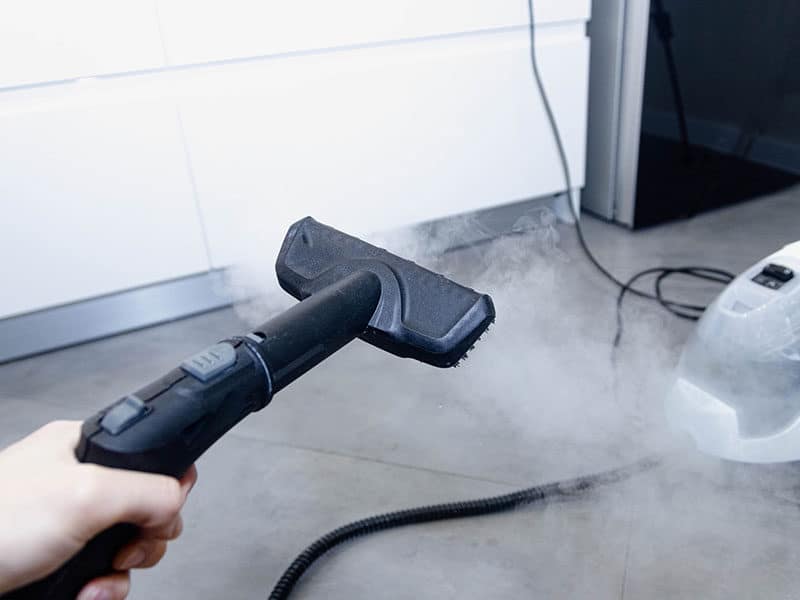
Method #2: Steam Cleaner
For people who don’t want to get on their knees and spare some elbow grease for this housework, a powerful steam cleaner is your go-to to make quick work of this arm-killing job.
By producing direct blasts of steam onto the grout surface, this equipment removes grimes and other sticky residues in a split second, thusly offers you a clean and sanitized environment.
When you’re working with a steam cleaner, it’s best to work in small sections at a time and finish with a thorough cleaning to prevent dirty water from settling back in.
If this effective tool isn’t yet at your disposal, make sure to choose a unit that’s designed for tile surfaces or, better yet, opts for a multi-purpose steam cleaner to facilitate deep cleaning in different applications of your home.
Tips For Proper Porcelain Tiles Maintenance
When it comes to keeping your porcelain tiles floors dazzling clean, there’re a few important notes to take into consideration. With the following helpful tips, you should be able to properly maintain your flooring without any trouble.
1. Sweep Or Vacuum Frequently
As the most high-traffic part of the house, your flooring tiles are likely to take a beating and retain lots of exterior dirt from every day activities.
Therefore, daily light clean-up with a gentle tool will ensure to avoid dirt buildup in its track, which doesn’t only cause the floor a dull look, but can also leave ugly scratches if not removed quickly.
Whether a traditional yet effective dust mop for hardwood floors, a soft-bristled broom, or a vacuum cleaner, it’s best that you perform this routine every day or once every few days, depending on how much your family utilizes the room.
2. Always Rinse Off Detergents
After the mopping session, you should always rinse the entire floor with a bucket of clean water to remove any detergent residue that still remains in hard-to-reach crevices. If you’re working in an extra-large room, feel free to change the water as you’ve finished half of the room.
3. Seal Grout Lines
It goes without saying that grout lines play a major role in determining a floor’s lifespan. However, due to their construction of sand and cement, these grouts are highly porous, making them susceptible to bacteria, dirt, and water.
Sealing the grouts doesn’t only enhance your floor’s aesthetic appeal but also helps to protect them from destructive elements and prolong the tiles’ lifespans.
4. Wipe Up Spills Immediately
If any kind of oil, food, or liquid is spilled on the floor, it should be treated seriously and rapidly. Taking immediate actions will prevent the liquid from penetrating the grout joints and leaving hard-to-remove etch marks on the tiles in case the spill is highly acidic.
5. Treat Stains Properly
While there’s a variety of stain types that can occur on porcelain tiles, each of them requires a particular treatment for permanent removal. If you’re there when the stain happens, make sure to treat them right away to ward off any long-term residual damages on the floors.
When it comes to effective stain removal remedies, green cleaning with homemade poultices is the ultimate way to go.
However, if you prefer store-bought chemicals, it’s advisable that you opt for gentle cleaning solutions with little abrasive properties to avoid further unwanted damages.
What’s more, stain treatments should be performed only on the stained area instead of the entire flooring surface.
6. Use Furnishing Protective Pads
Displaying customized furniture is a great way to add a dash of color and tie the whole room design together. However, dressers, chairs, and most other furnishings are likely to cause severe scratched and scuffs when moved around.
In cases like this, attaching protective pads and gliders to the base of your furniture should minimize wear and tear on your porcelain floors. It’s crucial to choose an appropriate one that matches your furnishing weight and material.
Also, as high-quality as these pads are, you should still change them every once in a while to ensure efficiency and ease your worries about your floor’s condition.
7. Ventilate The Area When Cleaning
Whether you plan to utilize chemical cleaning agents or leave the floor to air-dry itself, you should always open up all doors and windows during these clean-ups. This simple act will direct outdoor wind and air into the room and enable faster floor drying.
8. Use Personal Protection
If you’re working on an extremely dirty porcelain tiles floor that calls for abrasive chemical cleaners for a total makeover, it’s best that you wear protective gloves and eyewear to ward off harmful chemical injuries like skin burning and drying if these solutions come in close contact.
What To Avoid When Cleaning Porcelain Tiles Floors
The following shortlist is a wrap on certain damage prevention methods to keep your porcelain tiles floors in their top shapes for years to come.
- Don’t use harsh chemicals like bleach and ammonia for regular cleaning.
- Don’t use abrasive cleaning brushes, including scouring pads and steel wools, to avoid damaging the floor’s finish.
- Don’t saturate the floor with water. Instead, use a dampened mop.
- Don’t use oil-based soaps and detergents to prevent leaving smears and streaks.
- Don’t use cleaning agents that contain dye and coloring on unpolished/unglazed tiles.
- Don’t leave the cleaning solution to dry on the floor before you start damp-mopping.
Frequently Asked Questions
To let you walk away with a better understanding of how to properly clean porcelain tiles floors, below are the most common questions regarding the topic that you can browse through.
Keep Your Floors Clean Like A Pro!
With the given information above, porcelain tiles floors cleaning and maintenance should be a walk in the park for you now. By following my stepwise guides, you can put your mind at ease, knowing that your floor will remain attractive and polished through decades of use.
For regular clean-ups, this flooring option requires only a mild detergent to be free of dirt and debris from daily activities. However, if you come across an ugly stain or mark, immediate and careful treatments are sure to save you headaches in the future.
You can feel worry-free using one of my cleaning recipes and practices above or share with us your own way to make your guests dazzled at your sparkling floors. Also, please don’t hesitate to leave a question down below if there’s anything still bugging your mind!
Kevin Jones
Home Cleaning Specialist
Expertise: In-depth Knowledge of Cleaning Agents and Their Uses, Advanced Home Sanitization, Techniques Expertise in Cleaning and Maintaining, Various Floor Types, Innovations in Home Cleaning Tools
School: American College of Home Economics
Kevin Jones is a seasoned home cleaning specialist with over a decade of experience in the industry. A stickler for cleanliness and organization, Kevin brings a systematic and innovative approach to home maintenance. His expertise ranges from traditional methods to modern cleaning technology, ensuring homes are not just clean but healthy environments too.