How To Remove Tiles From The Concrete Floor 2024
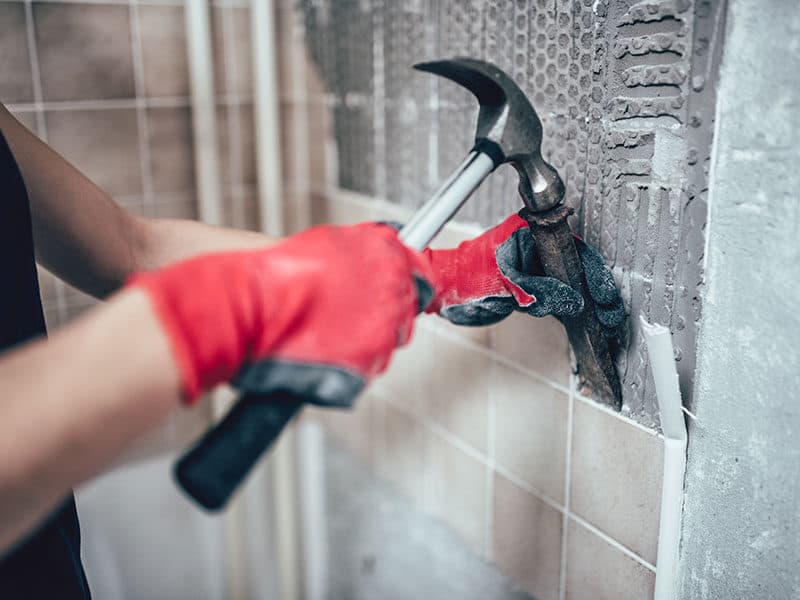
How to remove tiles from the concrete floor jumps often to my mind when I rummage through endless pictures of fantastic house designs, imagining how something could look like in my home. I certainly thought how much of that work could be done without hiring professional help.
Removing old and dated tiles is work that is constantly postponed. And not without reason. It is work that takes up a lot of time, hard work, and patience. Not to mention all the mess and dust during the process. But, if you take some safety precautions, useful tips and tricks, soon you will have a new floor.
The best way to remove tiles is not necessarily the fastest way. Many things can affect the way you want the tiles to be removed. Do you want to save the tiles, or you want to make as little mess as possible? Or you just care about not looking at those boring tiles anymore?
So, How To Remove Tiles From The Concrete Floor?
Removing tiles is a process that takes a lot of time and attention to detail to do things right. Cleaning and protecting the space is a good point to start. It would be best not to miss out on the following steps before setting the new floor.
- Step 1: Empty the room as much as possible by removing the furniture. You can also cover them to avoid dust and debris.
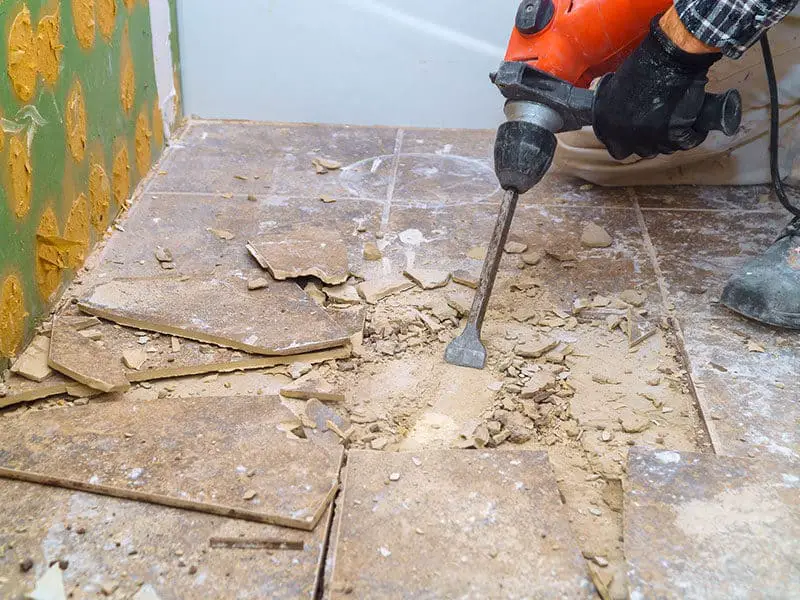
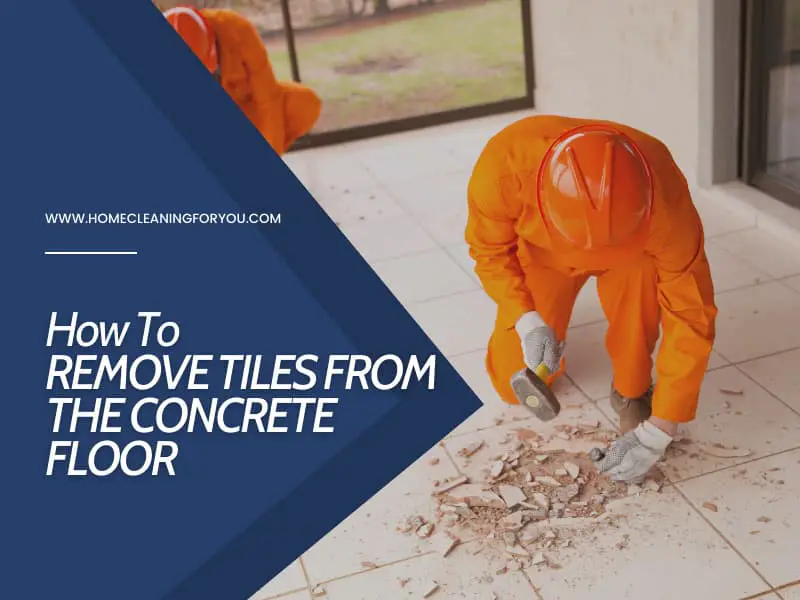
- Step 2: Use the utility knife, a chisel, and a hammer to remove the grout and tiles. An electric hammer drill can help the process faster if you do not want to keep the old tiles.
- Step 3: The next step is to remove the tile adhesive.
- Step 4: Smooth the surface by sweep all the dust and debris or vacuum using a suitable shop vac.
- Step 5: Install your new floor
Essential Tools Needed
Whether you are replacing all the tiles or a single one, some tools will tremendously help with the process. Make sure to have a chisel, hammer, utility knife, an electric drill with hard drill bits, shovel, brush, and dustpan. Do not forget a shop vac that can save you a lot of cleaning trouble.
- Chisel
- Hammer
- Utility knife
- Electric drill with hard drill bits
- Shovel
- Brush
- Dustpan
- Shop-Vac
Safety Precautions
Before you start to break the tiles, you should secure yourself and your space for that work. Why is this important? This is the vital step because you do not want to hurt yourself or damage anything and cause an even bigger mess than it should be. Check the following lines to see what works best for you.
Protecting Yourself
The top thing you need to remember when starting the tile removal is to protect yourself and those around you. Always wear protective clothes, shoes, and gloves. Do not forget about protective glasses and a protective mask as the debris and dust easily find their way to your eyes and mouth.
Securing The Area
When removing the tiles, you should use some protective sheets and cover pieces of furniture that cannot be moved. This often happens in the kitchen where you have a kitchen island or something similar that needs to stay there and you need to work around it.
Fixtures
Fixtures, usually in the bathroom, should be removed before breaking the tiles. Make sure to shut off the water supply before removing them to avoid a flood.
How To Remove Tiles From Concrete Floor: Step-By-Step
Here is the deal, if you want to finish this work today, you have to follow these steps closely. Do not skip them or you can end up doing things the hard way. So, keep reading to see how to remove the tiles efficiently with minimum damage to your space and the people around you.
Step 1: Space Clean Up!
You have probably introduced yourself to the preparation part. This part is important because you have a plan where you do not miss anything. Having the right tools, protected furniture, and right work clothes, safety measures lead only to successfully finished work.
Before the dusting part sets in, it is wise to empty the room as much as possible. If you have shelves that you would not rather remove, cover them to minimize the chances of dust and debris damaging them. Use sheets to cover the furniture that cannot be moved, usually kitchen islands or cabinets.
Step 2: Remove The Tile And Grout
To tell you the truth, removing the grout is the most boring part if you need to replace a single or several tiles. Use the utility knife to cut the grout around the tiles, watching closely not to damage any surrounding tiles. If you replacing all the tiles, you can skip this part.
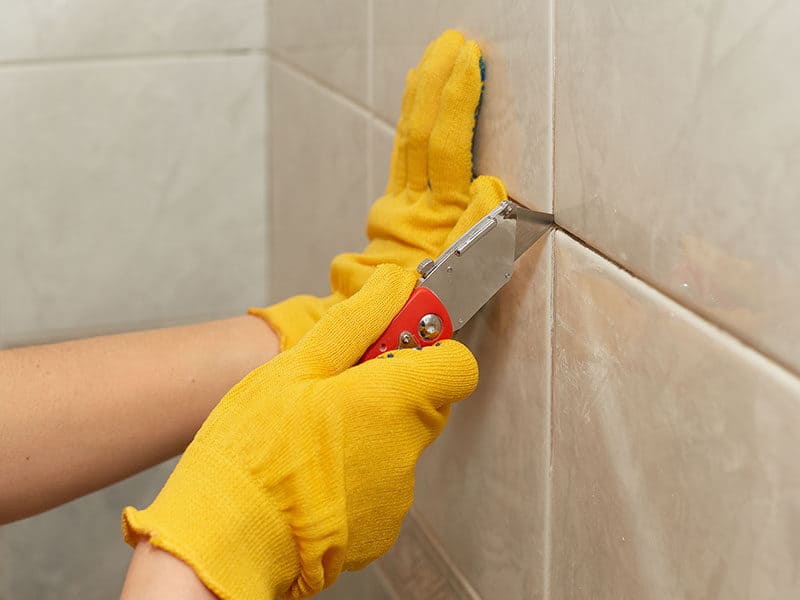
If you are doing all the work by hand, you would need a chisel that you can put on the angle of the tile and gently hammer it. Start closely to the tile that has already been broken. This way you can have the best starting point. And you will have better chances of keeping the tiles and repurpose them in some other project.
The electric hammer drill with a chisel is the tool that can make this tiring job much faster and easier. When you use this tool you can get this work done faster, but use this only if you are removing all the tiles and you do not wish to save the tiles and repurpose them.
Check out this video to see more about easy tile removal.
After you have finished the removal part, shovel the tile pieces and collect them in the garbage bags. Use the wide flat shovel to help you finish this part faster. This is a good point for saving interesting tile pieces that you can use to make interesting floor collage in some other project.
Step 3: Remove The Adhesive
After tile removal, you need to scrape off the remaining adhesive. You can do it by hand using a chisel and hammer, or a jackhammer with a chisel attachment. This can be a massive job, with a lot of dust involved, so do not forget mask and safety goggles.
If the adhesive is too stubborn for you to just scrape it off, then try using some heat to loosen it a bit. You can use a fan and direct the heat until it is heated up and softened, and then try to remove it. It should go off much easier than with only scraping.
Step 4: Smooth The Surface
Before setting the new flooring, you should level the concrete first and then decide on the new flooring type. Removing all the residue adhesive and leveling the uneven parts of concrete gives the opportunity to lay new flooring perfectly.
Use the brush and dustpan to sweep the dust and debris left after scraping the floor. The fine dust should be vacuumed with some shop vac. It is maybe best to allow the dust to settle first and then to vacuum the floor thoroughly.
Step 5: Ready For The New Floor
You can put new modern tiles or wooden floor of your choice. Make sure to prepare the floor before starting on a brand new flooring project. Concrete allows you to put any new floor type, including a new design of tiles.
How To Replace A Single Tile
If you need to replace a single tile, then you need to use the utility knife to cut the grout around the broken tile. Take the chisel and put it where it is the deepest tile’s fracture and with the help of the hammer tap it to bury it under the tile.
Lift the tile slowly up and remove the rest of the tile with your hands. Do not forget to remove all the left adhesive from the floor. Now, when the surface is cleaned, apply the new layer of adhesive for a replacement tile. Level the tile and let it dry overnight. The next day, apply new grout to a tile.
Check this video to see more about removing a single cracked tile.
How To Remove Tiles Without Breaking Them?
Sometimes tiles have been installed wrong and you need to remove them without damaging them. Or you just want to repurpose them and use them elsewhere. Whatever your reasons are there is a solution to this issue too.
Now, what you need to bear in mind is that you need to work slowly and with caution. First, you need to work with the grout, remove it by using a utility knife. Then gently lift the tile with a chisel and hammer. Tap the chisel with the hammer gently to avoid the tile to break.
Before you install the tile again, make sure to scrape off all the adhesive left on the tile. You can use the chisel but work carefully as you can break the tiles easily if you are impatient and try to speed up the job. Patience is the key to saving those tiles.
What Can I Do With Broken Tiles?
Whether you are saving the tiles whole or you just have the pieces of the tiles, you can still use them to be creative in some gardening project for example. You can make some mosaic, or decorate the planters or pots. You can even make an outdoor table for you to enjoy the time in your garden.
Creating mosaics requires only a piece of imagination and creativity for you to create something new and imaginative. You can bring a splash of color to your outdoor space without spending too much money. And it will be a unique piece that everyone will ask you about.

Replacing Tile Floors With Other Floorings
When you remove the tiles, you have a clear canvas to install whatever flooring you wish. You can install new tiles, put wooden flooring or vinyl flooring. You can make whatever choice suits you best as long as you remove all the adhesives and level the surface for the new flooring.
Even if you decide that removing tiles is too much work for you, you can place new flooring over the tiles. You can go with vinyl flooring, laminate flooring, or simply roll the rug over the tiles. Sometimes, thorough tile cleaning can bring new light to your old tile floor.
Ask For Professional Services
Removing tiles can be a costly investment if you decide to hire a professional company to do that for you. You can expect them to charge you somewhere between 50 and 150 $ per hour of work. Before you decide to hire, inquire about the fixture and furniture removal as they may charge for that additionally.
Although removing tiles yourself can save your budget tremendously, sometimes it is best to hire a professional. This is the best choice when you need to remove tiles that have been wrongly installed and you need to reinstall them without breaking them. The cost for such removal is a bit cheaper, too.
Removing Tiles Yourself Or Not
Renovating projects require a lot of planning and preparation. Tile removal is difficult and time-consuming work that can save you a lot of money if you decide to do it yourself. But with a pair of helping hands, you can do it yourself if you have the right tools and equipment.
If you are worried about the outcome or the amount of work or time needed for tile removal, then you may reconsider having professional help. Weigh in your choices and see what works best for you. At least, you will have satisfying results in the end.
Have you decided to renovate and remove the tiles yourself? Or you just need to replace a broken tile? Share your decisions and plans with me in the comments below.





Kevin Jones
Home Cleaning Specialist
Expertise: In-depth Knowledge of Cleaning Agents and Their Uses, Advanced Home Sanitization, Techniques Expertise in Cleaning and Maintaining, Various Floor Types, Innovations in Home Cleaning Tools
School: American College of Home Economics
Kevin Jones is a seasoned home cleaning specialist with over a decade of experience in the industry. A stickler for cleanliness and organization, Kevin brings a systematic and innovative approach to home maintenance. His expertise ranges from traditional methods to modern cleaning technology, ensuring homes are not just clean but healthy environments too.