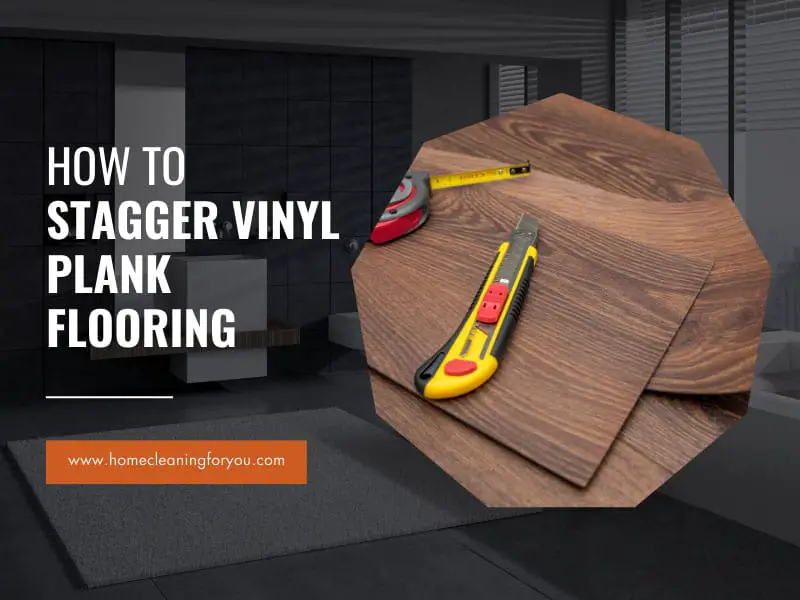
How To Stagger Vinyl Plank Flooring: The Complete Guide 2024
Learning how to stagger vinyl plank flooring is no longer a daunting task because now you can master it by reading this post. By following this instruction, the result will be so excellent that you will be proud of yourself.
Your vinyl plank flooring loves to be staggered. Staggering increases the aesthetics and protects the floor from certain types of damages. I can do it, and I will teach you how to do it the fun and easy way. Let’s get moving on!
Why Staggering Vinyl Plank Flooring?

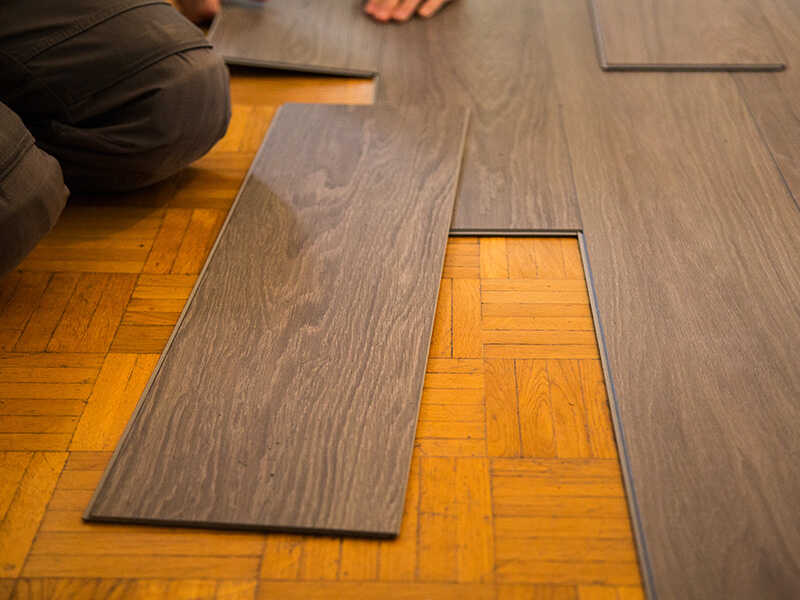
Staggering means installing the vinyl planks in an uneven pattern. In other words, instead of arranging the planks with the same length similarly, you will make one plank shorter or longer than the one next to it.
You may wonder why people do such a thing. Aren’t the planks supposed to be installed arranged consistently?
The reasons are that staggering makes the flooring more stable and prevents bowing, buckling, warping, and separating on the planks. It provides a more natural look to the flooring as well as increases its structural integrity and stability.
But staggering does not mean just randomly cutting the planks and sticking them together. There are some rules to calculate how uneven they should be. I will go into detail right away.
Which Pattern Is The Best For Your Vinyl Plank Flooring?
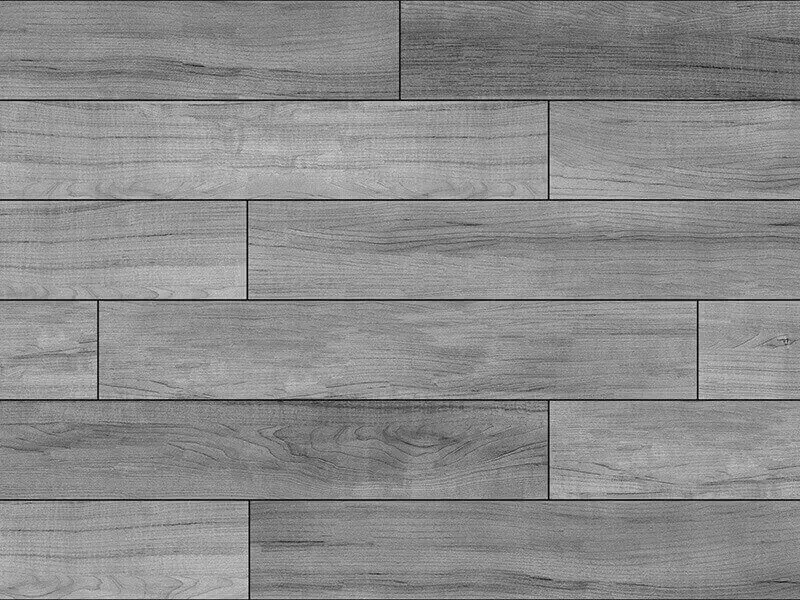
Vinyl plank flooring should not be installed in a typical even pattern. It will make the flooring less appealing as well as reduce its stability and integrity. In addition, you will feel like you are an amateur.
The H-joint pattern is also not ideal for vinyl plank flooring because it looks unnatural, unprofessional and can loosen the planks over time. The H-joint pattern means that the length of the first plank of the first row is equal to that of the first plank of the third row.
You should also avoid the step pattern when installing vinyl plank flooring. In the step pattern, every first plank of the rows forms a stair-like way.
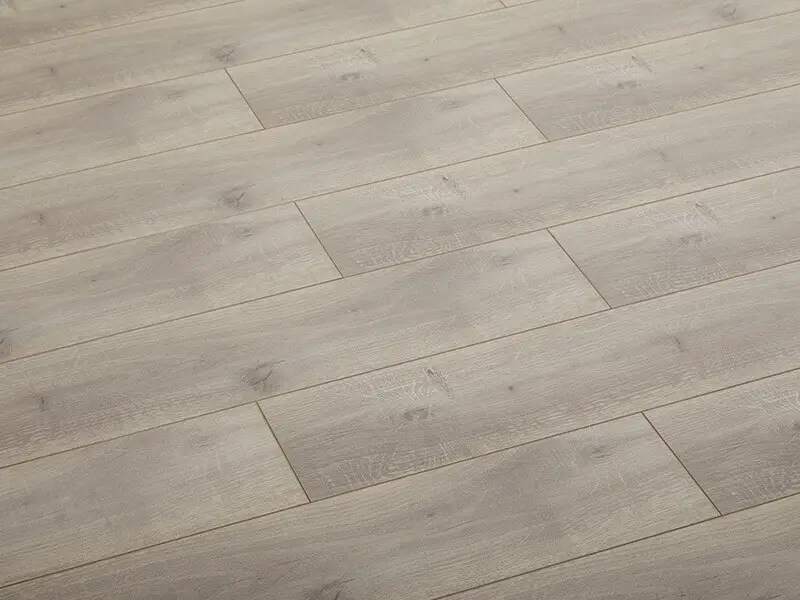
The staggered pattern is the best option for your beloved vinyl plank flooring. The planks are subtly randomized to provide both strength and beauty for your flooring.
In the following content, I will provide you with very detailed instructions to help you to stagger vinyl plank flooring on your own. Read on!
First, Let’s Do Some Math!
Are you afraid of math? Don’t worry. You just have to do some simple calculations to get the perfect plan for staggering vinyl plank flooring.
First, measure the width and length of the room. Then multiply these 2 numbers to get the area of the room.
If your room is neither square or triangular in shape, you can divide it into multiple shapes with the area formulation. Then, sum all of the areas together to get the total area of the room.
Divide the width of the room by the width of the vinyl planks. By doing this, you can get the number of planks you need to fit the room. Use the tape measure to find the width of the room.
For example, if your room is 143” wide and the planks are 6”, the result will be 23 and reminder 5. So you need 23 planks, and there are 5” left. In this case, you can cut the first plank to be 2” and the last one to be 3”. And you’re done—just that easy.
If you haven’t chosen the type of planks, you can calculate the area of the room and consult a professional to find the most appropriate vinyl planks for your flooring.
You have to read the instruction that comes along with the flooring to see whether any spacing is required. Normally, you are required to spare ¼” between the walls and the planks.
Add 10% of the total area to the number you’ve just got. Now you have 110% of the total area. I advise you to do this because later on, you will cut off some planks so that they fit the floor.
The Actionable Procedure To Stagger Vinyl Plank Flooring
Staggering vinyl plank flooring is often done by experts. But by following this guide, you can do it like a pro while saving some bucks for other businesses. It’s not as difficult as it looks.
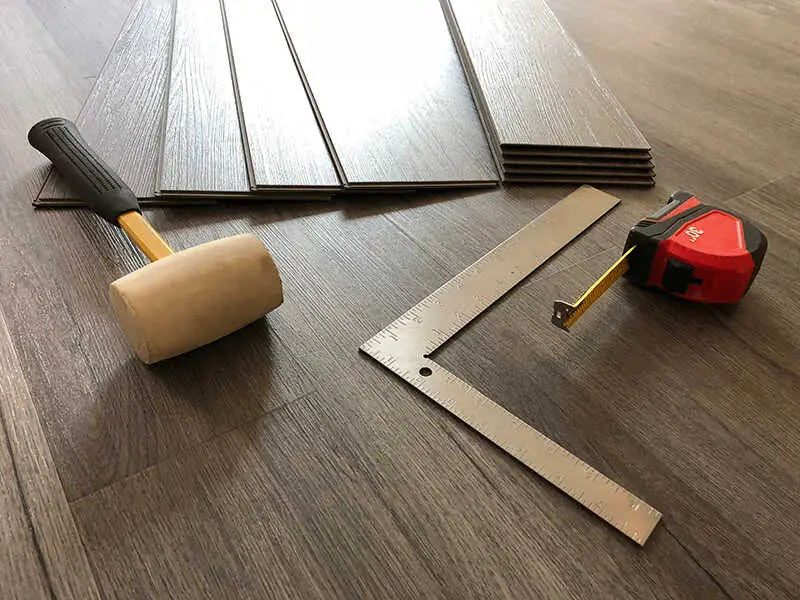
What You Need
- Vinyl planks
- Pencil
- Utility knife
- Pliers
- Pry bar
- Screwdriver
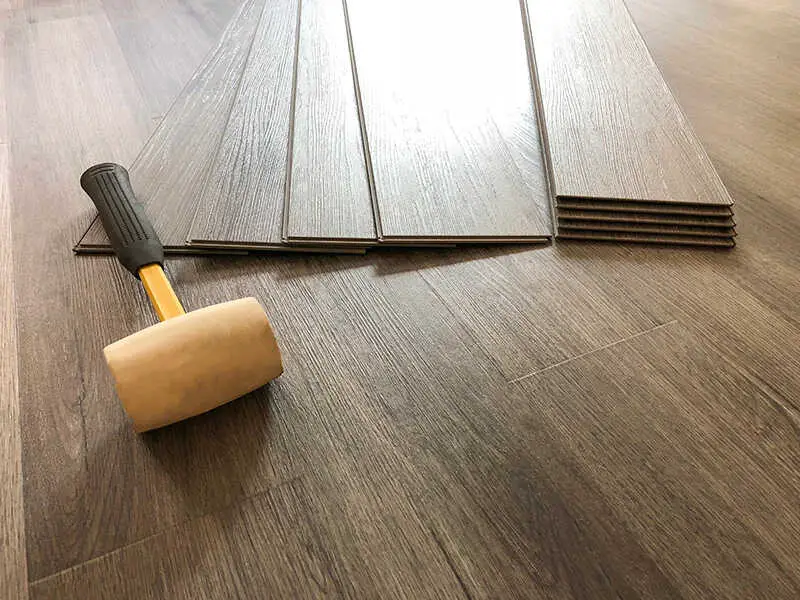
- Hammer
- Straight edge (speed square, or T-square)
- Tape measure
- Coarse sanding belt
- Pencil
- Spacer
- Vinyl planks
Step-by-step Instruction
Step 1: Prepare For Installation
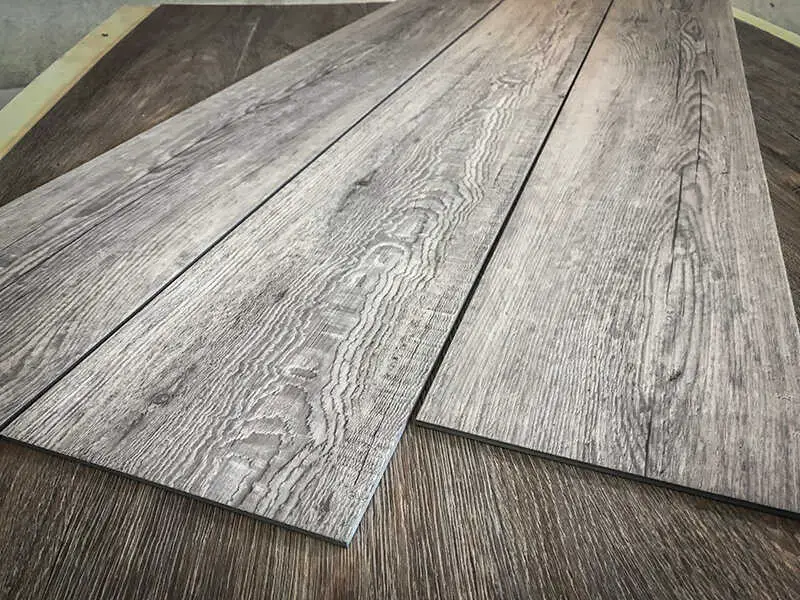
Before you install the new vinyl planks, put them in the targeted room 2-3 days in advance. The purpose of this is to help the planks adapt to the new place. Vinyl is susceptible to temperature change.
Open the flooring packages and mix the planks randomly. This is because the vinyl planks of different packages may be quite different in color. Some may be darker than others. Therefore, you have to blend them together to create an even texture for your flooring.
Step 2: Uninstall The Old Flooring
For an old room, you will have to pull up all of the current flooring to prepare for the new flooring.
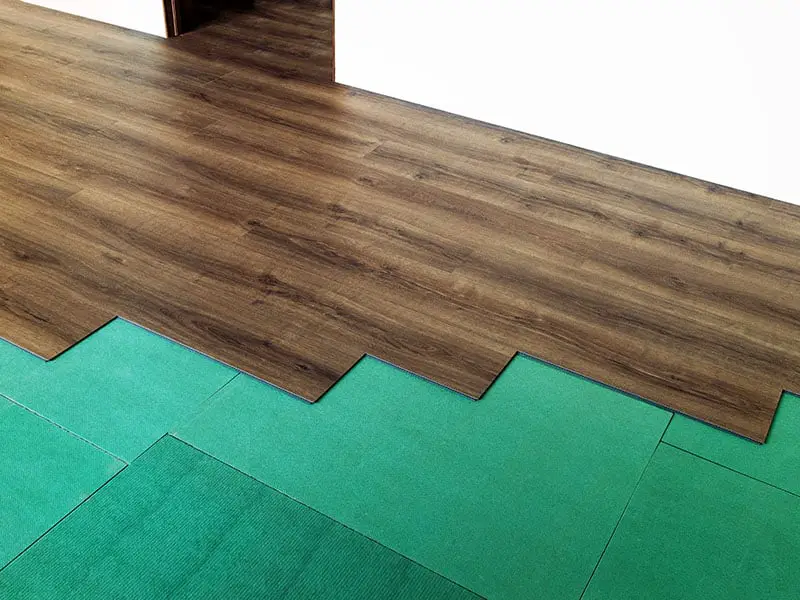
In case you plan to install vinyl plank flooring over another flooring such as vinyl tile flooring and vinyl sheet flooring, you don’t have to uninstall the existing flooring. But you should remove the carpets and carpet padding. Grab a utility knife and cut the carpet into smaller pieces.
When you are done, the floor will be full of staples and tack strips that are used to stabilize the carpet. Use a pry bar to pull up the tack strips and a plier to clean off the staples. If there are any screws and nails that show up, use a hammer to put them back into the subfloor.
Step 3: Repair The Surface
In case you uninstall all the flooring, you may detect some imperfections on the subfloor, such as lumps, humps, door trim, baseboards, and casings. For lumps and humps, you can use a coarse sanding belt to remove them. If flaking exists, make sure you handle it.
It is important to note that vinyl plank flooring should be installed on a dry, smooth, and even subfloor. Any holes or spots will cause wear to the flooring. Fill them properly before installing.
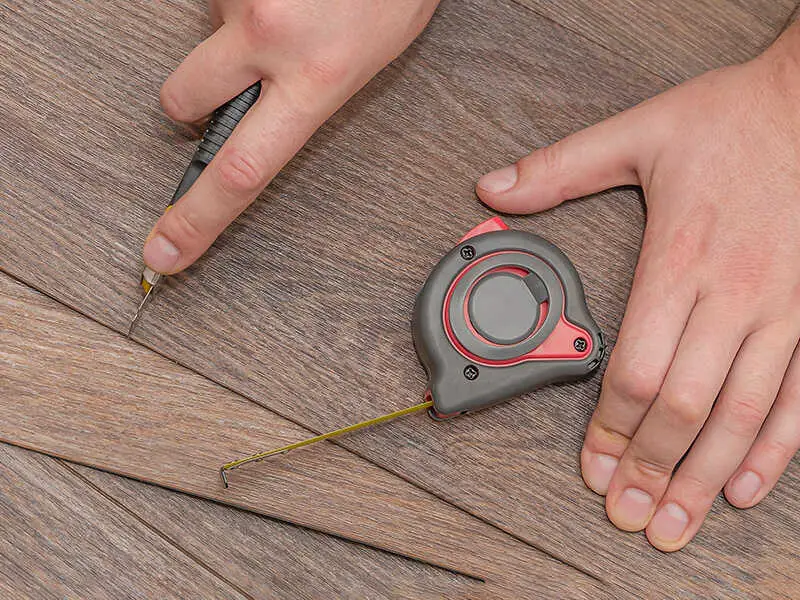
Step 4: Calculate And Cut Off The Planks
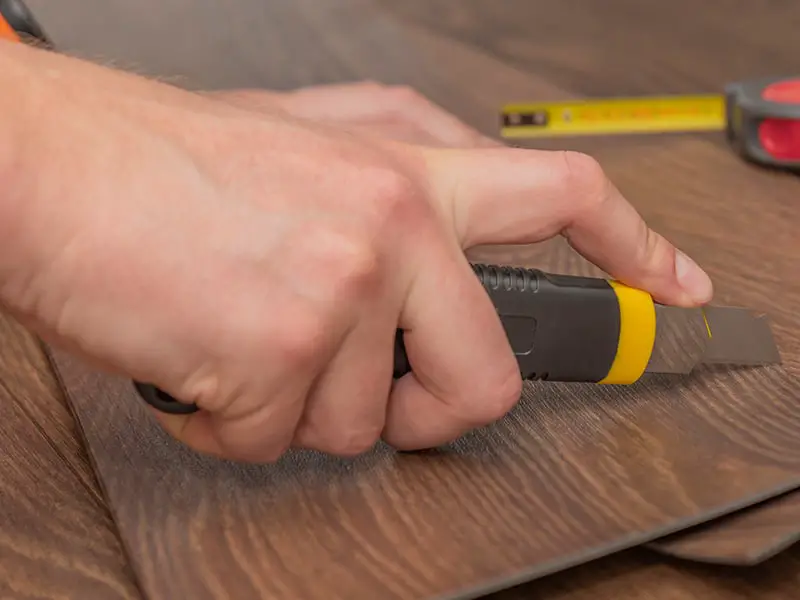
Remember the above calculation? It’s time to use it. The next step is to cut off the planks to make them suit the room. Take out the straight edge and score the planks. Then break them off with a utility knife. It is important that you have to work with the tongue side, not the groove side.
Step 5: Loose Lay The Vinyl Plank Flooring
Before you stagger the flooring, you should try laying the planks unofficially to see whether the pattern satisfies your expectation. With this move, you can make necessary adjustments and ensure that the official process runs smoothly.
Step 6: Stagger The Vinyl Plank Flooring
You should start laying the planks at the right-side corner of the room. Start the first row with a full-length plank.
The first row:
- You should cut off 1” over-edge adhesive strip that is on the top of the plank and 1” over- edge adhesive strip that is on the right side of the plank.
- Spare ⅛” inch between the wall and the top side and between the wall and right side of the plank.
- Next, lay another full plank on the first row. Make sure that the last plank of the row is at least 6” long. This will help facilitate the structural stability of the flooring.
- If the remaining space is shorter than 6”, cut off the first plank to make that space longer than 6”.
The second row:
- Get a new plank, use a tape measure to measure two-thirds of the plank, and draw a vertical line there with a pencil. For example, a full vinyl plank is normally 36” long. So you should measure 24” and mark that point.
- Place the straight edge, T-square, or speed square on the plank so that its edge is in line with the pencil mark you drew before. Press the square tool hard and score according to the line using the utility knife until the plank nearly separates.
- Use your hands to divide the plank into two halves.
- Arrange the longer halve on the second row, followed by a full plank. Remember to spend a ⅛” gap on the right side.
Note: Alternatively, you can cut off the plank so that it is 6-8” shorter than the nearby seam.
The third row:
- After you’ve finished, cut one-third of a new full plank to begin the third row using the same measuring and cutting method as in the second row.
The remaining rows:
From the fourth row onwards, stagger it like when you stagger the first row. Repeat the process for the rest of the rows.
Note: You can start staggering vinyl plank flooring from the center of the room.
This well-made instruction on staggering vinyl plank flooring will help you.
Some Tips To Stagger Vinyl Plank Flooring More Easily
Besides the detailed method that I have provided, you should also keep these tips in mind to make the staggering process safer, quicker, and more effective.
- Several hours after the planks are installed, they will start to develop a faint chemical smell known as off-gassing. This is a harmful odor that can cause headaches, dizziness, and fatigue (1). To remove it, open the window to let it out.
- Spare ¼” around the perimeter of the room. Without this gap, the planks will expand when the temperature fluctuates and cause buckling.
- Make sure that the planks adhere well to the subfloor. Do necessary repairs such as sanding and filling holes to ensure a smooth subfloor.
- Invest in a thermal proof and water underlayment to prevent liquid from seeping into the flooring. Consult an expert to choose the best one.
- Uninstall the baseboard and casing and trim door jambs to make the installation process run smoothly.
- If your vinyl planks are 5” wide, each seam should be 6” longer or shorter than the next one. For planks that are more than 5” wide, the distance between each seam can be 8-10”.
- When the utility knife blade is dull, replace it with a new one. Or else, it will result in jagged edges on the vinyl plank flooring.
- When you cut the planks, put the leftover strips in the vinyl plank boxes. Cover them with the sheets of packing. You will use them when you reach the wall.
- When you measure and snap the vinyl planks, place them on the packaging paper. This will ensure that the adhesive strips are kept away from dust and dirt.
- Do not rearrange furniture right after when the floor is installed.
Here are some mistakes to avoid when staggering vinyl plank flooring.
How To Maintain Vinyl Plank Flooring Properly?
After staggering, you will have beautiful vinyl plank flooring. Now your next job is to maintain it so that you can keep its aesthetics over time. Here are the top tips that you must always keep in mind.
- Dry clean and wet clean the floor routinely. Vacuum it frequently to remove all of the dirt and dust. Make sure you don’t use the beater bar.
- Invest in rugs or doormats to protect the vinyl plank flooring from scratches and dents.
- Put furniture pads under the furniture to prevent it from scratching the flooring.
- Use rolling chairs to ensure that no scratch can appear on your vinyl plank flooring.
- Avoid using high pH cleaners as they can damage the vinyl plank flooring.
- Use the combination of apple cider vinegar and warm water to wet clean vinyl plank flooring. For a heavily dirty floor, pour some dishwashing liquid into the mixture.
- When moving the furniture, it is best to put plywood sheets under it. This will help to protect the floor against scratches and dents.
- Clean stains as soon as you can. The best solutions are rubbing alcohol (2) for ink, lipstick, and dye. Use mineral spirits (3) for paint or crayon marks. Apply the solution to the dirty area using a towel and rub it to remove the stain.
- Use a soft-bristle brush to clean the vinyl plank flooring.
Learn the best tips to take care of vinyl plank flooring today.
FAQs
To cover all of the information you need, I have a bonus section involving the most commonly asked questions. Read a bit more to learn everything about staggering vinyl plank flooring.
Staggering Is A Crucial Thing To Do For Your Vinyl Plank Flooring
You’ve learned the importance of stagger vinyl plank flooring and the step-by-step procedure to do that. The process includes several steps and requires you to pay attention to detail. But don’t think that it is difficult. If you love your vinyl plank flooring too much, do the best for it.
Should you have additional questions, feel free to leave some comments. I will get back to you very soon. And don’t forget to share this article to your friends and relatives who also want to stagger vinyl plank flooring.
References
- Aprilaire – Blog. 2022. What is Offgassing? – Aprilaire – Blog.
- En.wikipedia.org. 2022. Rubbing alcohol – Wikipedia.
- En.wikipedia.org. 2022. White spirit – Wikipedia.


Kevin Jones
Home Cleaning Specialist
Expertise: In-depth Knowledge of Cleaning Agents and Their Uses, Advanced Home Sanitization, Techniques Expertise in Cleaning and Maintaining, Various Floor Types, Innovations in Home Cleaning Tools
School: American College of Home Economics
Kevin Jones is a seasoned home cleaning specialist with over a decade of experience in the industry. A stickler for cleanliness and organization, Kevin brings a systematic and innovative approach to home maintenance. His expertise ranges from traditional methods to modern cleaning technology, ensuring homes are not just clean but healthy environments too.